Self-installation and system design of eHouse smart home in Comfort Variant
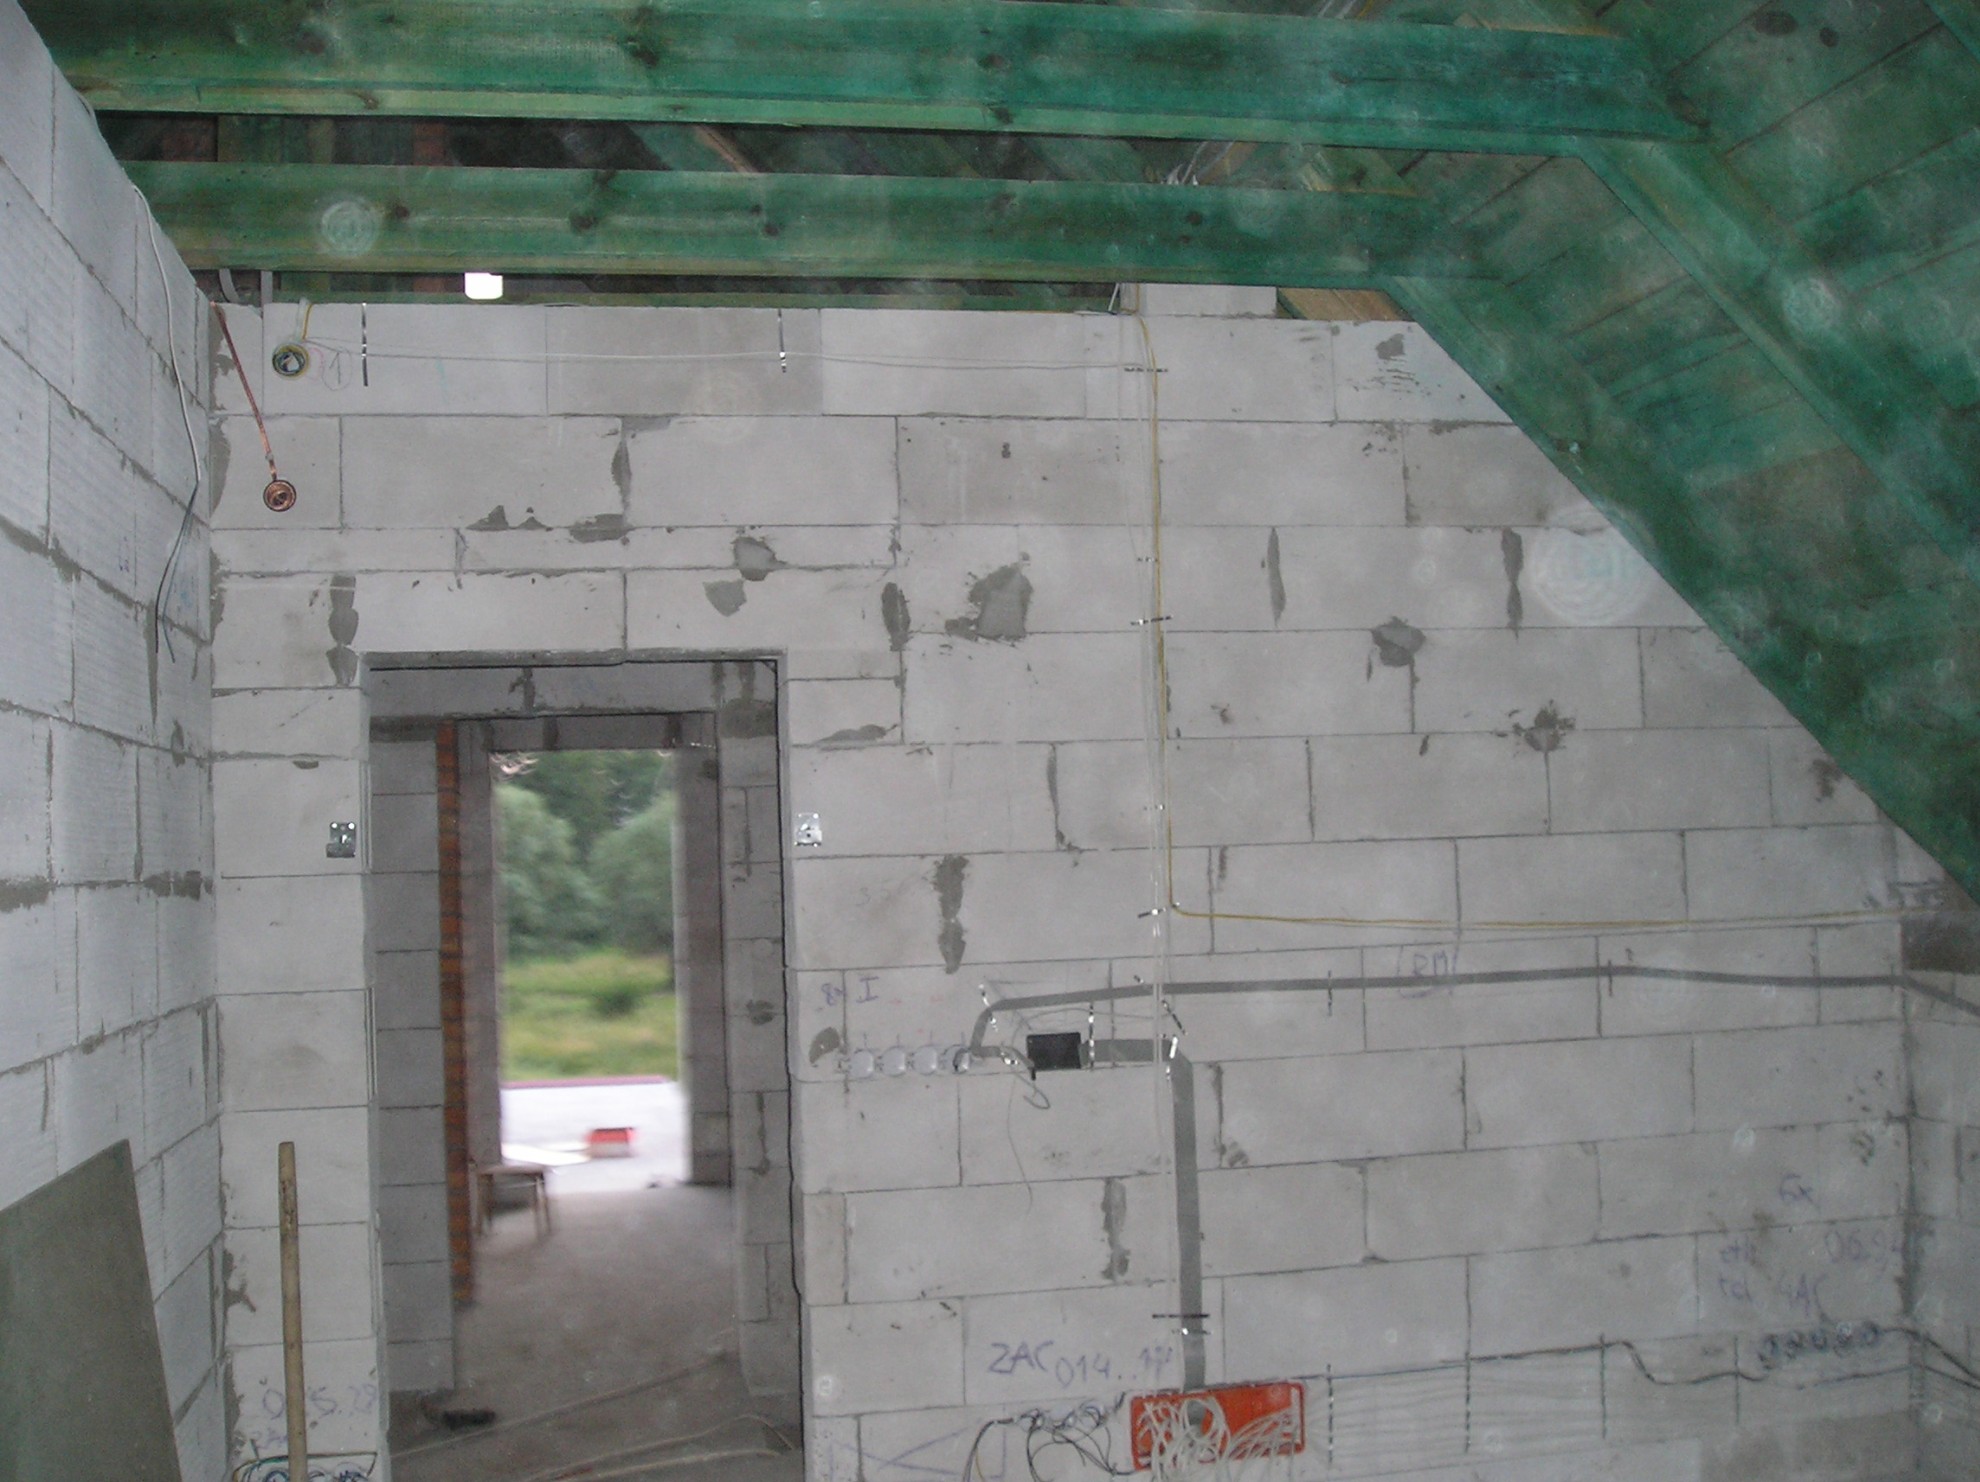
Gallery shows amateur installation of eHouse smart home , intelligent Building . The installation was made personally in July 2004 and still operates .
I took up a decentralized comfort variant version of eHouse1 . This means that the amount of RoomManager controllers is equal to the number of rooms where you will be used to control infrared.
At home with ~ 150m2 of living space there are the following facilities which have assigned RM :
- living room
- kitchen + dining room
- Entrance Hall Ground Floor + Attic + storage + stairs + hall
- Ground floor bathroom + Laundry + Sauna
- Cabinet
- 1 children’s room (Attic )
- Nursery 2 (Attic )
- Laboratory (Attic )
- The bathroom floor + Attic
- Bedroom ( Loft )
- Basement + vestibule + Garage
RoomManager were placed in rooms where the infrared will be used in both directions :
- Working to control RoomManager ( lighting and heating control ), and Automatic building eHouse by IR remote control as standard Sony ( or universal remote control , The graphic panel IR , etc. ) .
- HiFi control , Audio – video Ethernet and other equipment from the system by sending eHouse learned remote codes and define the infrared signals as a standard system event eHouse .
Location RoomManagers has been chosen so that they are on against the planned HiFi equipment, TV , Audio – Video on the amount and location combinations that no set of furniture is not obscured infrared beam path.
In addition RoomManager put in a room controlled relay modules added the electrical equipment in the room in electrical boxes located in areas where the planned placement of furniture to block the light box and at the same time allow easy revision .
This allowed :
- the maximum decentralization of installation
- few time prevention of waste pipes
- few time reduction in resources and time to the laying of installation
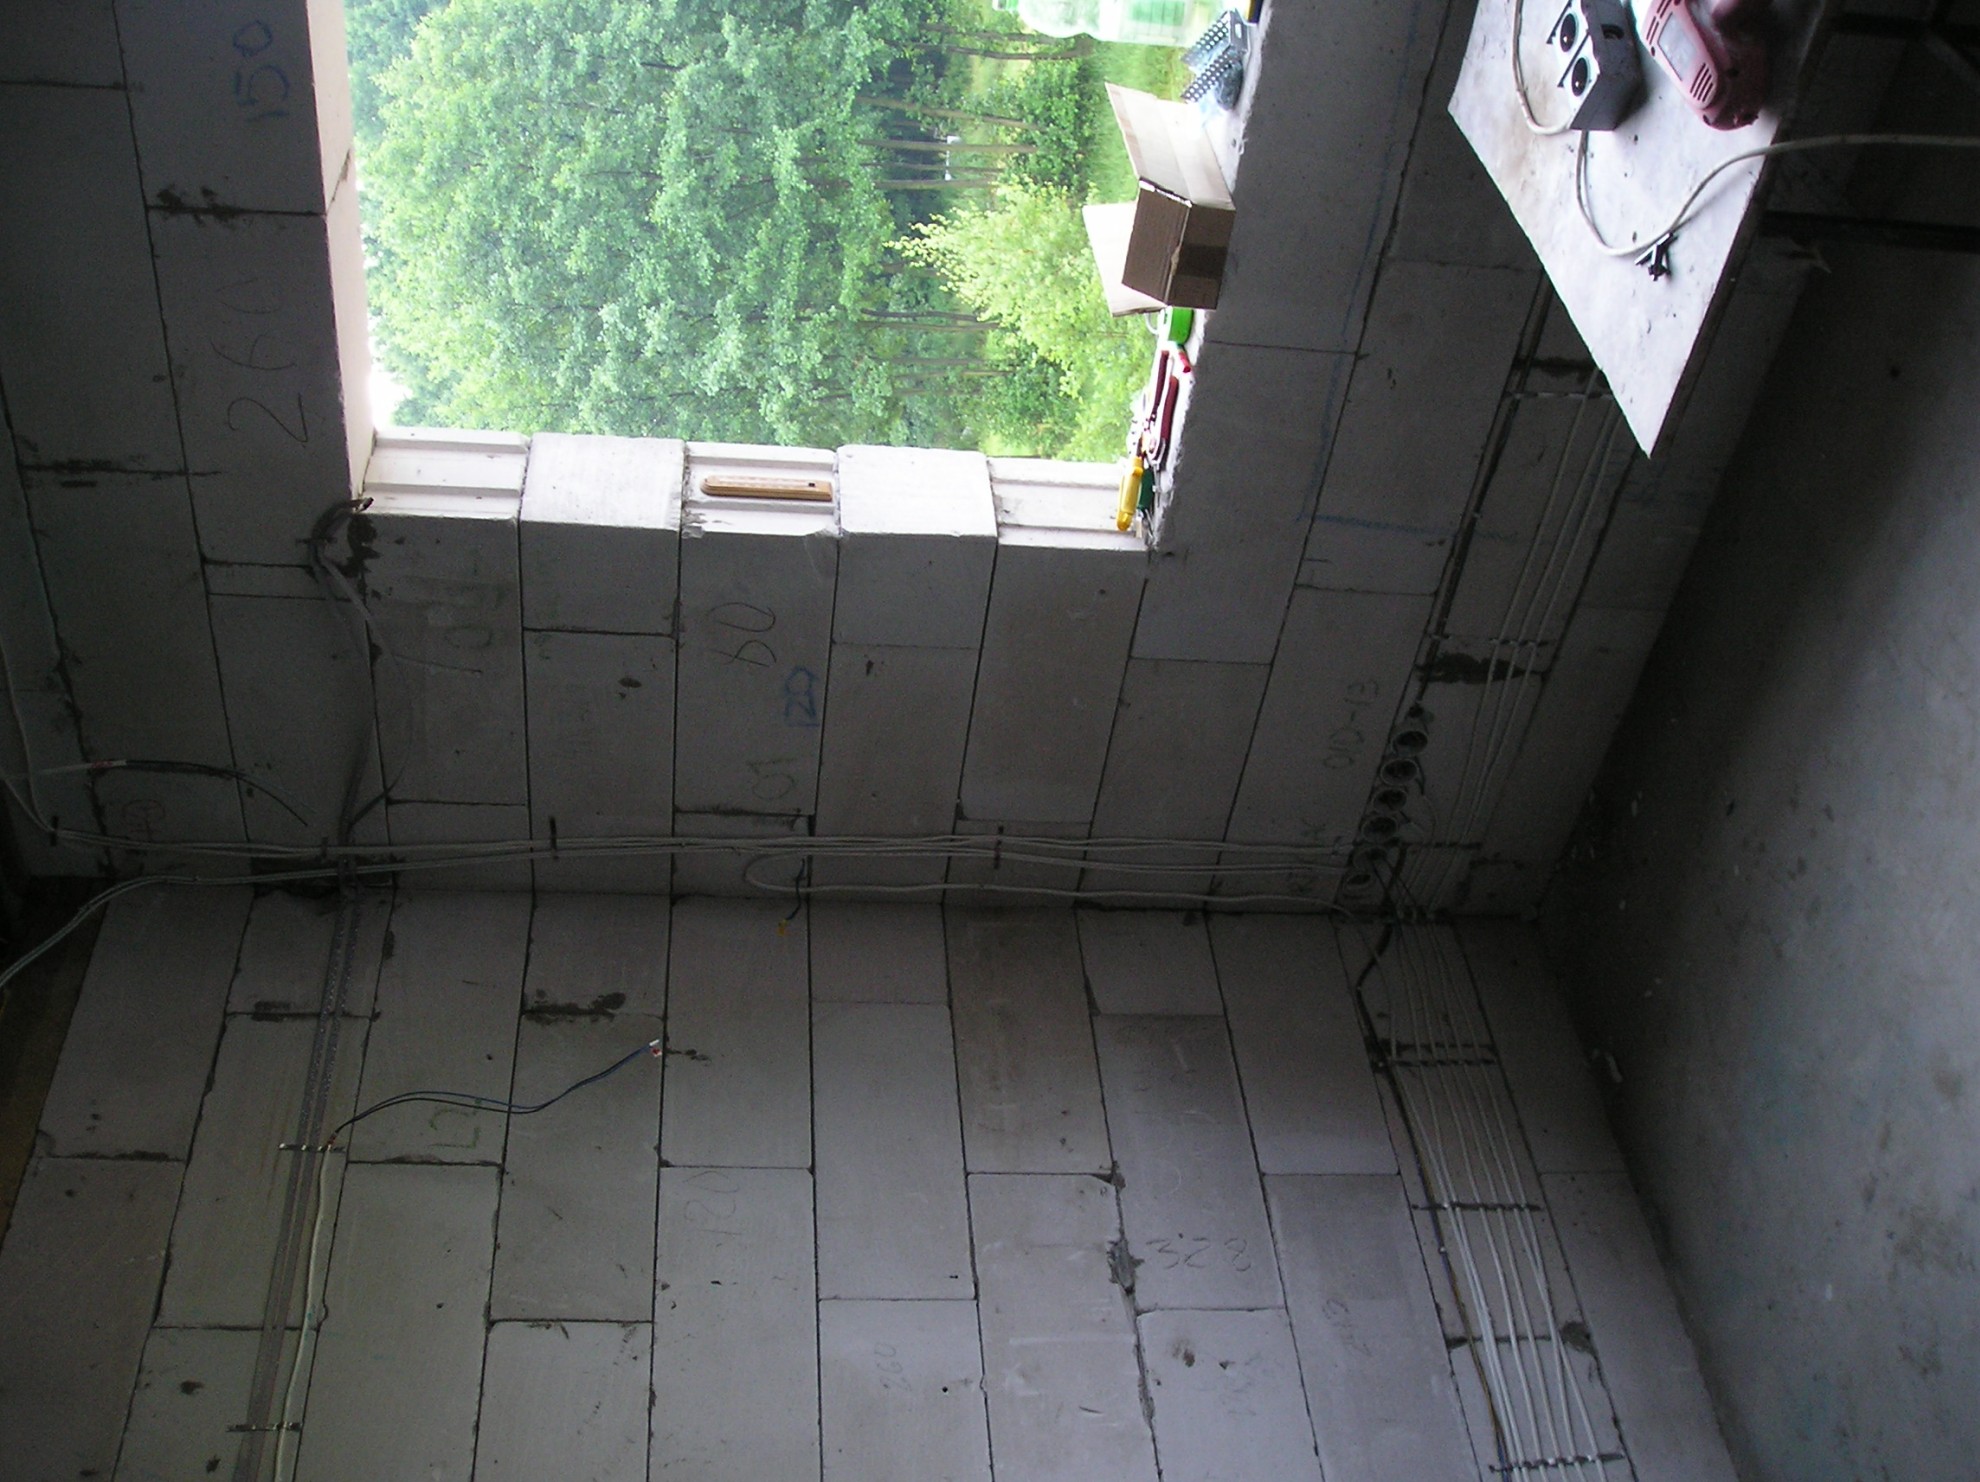
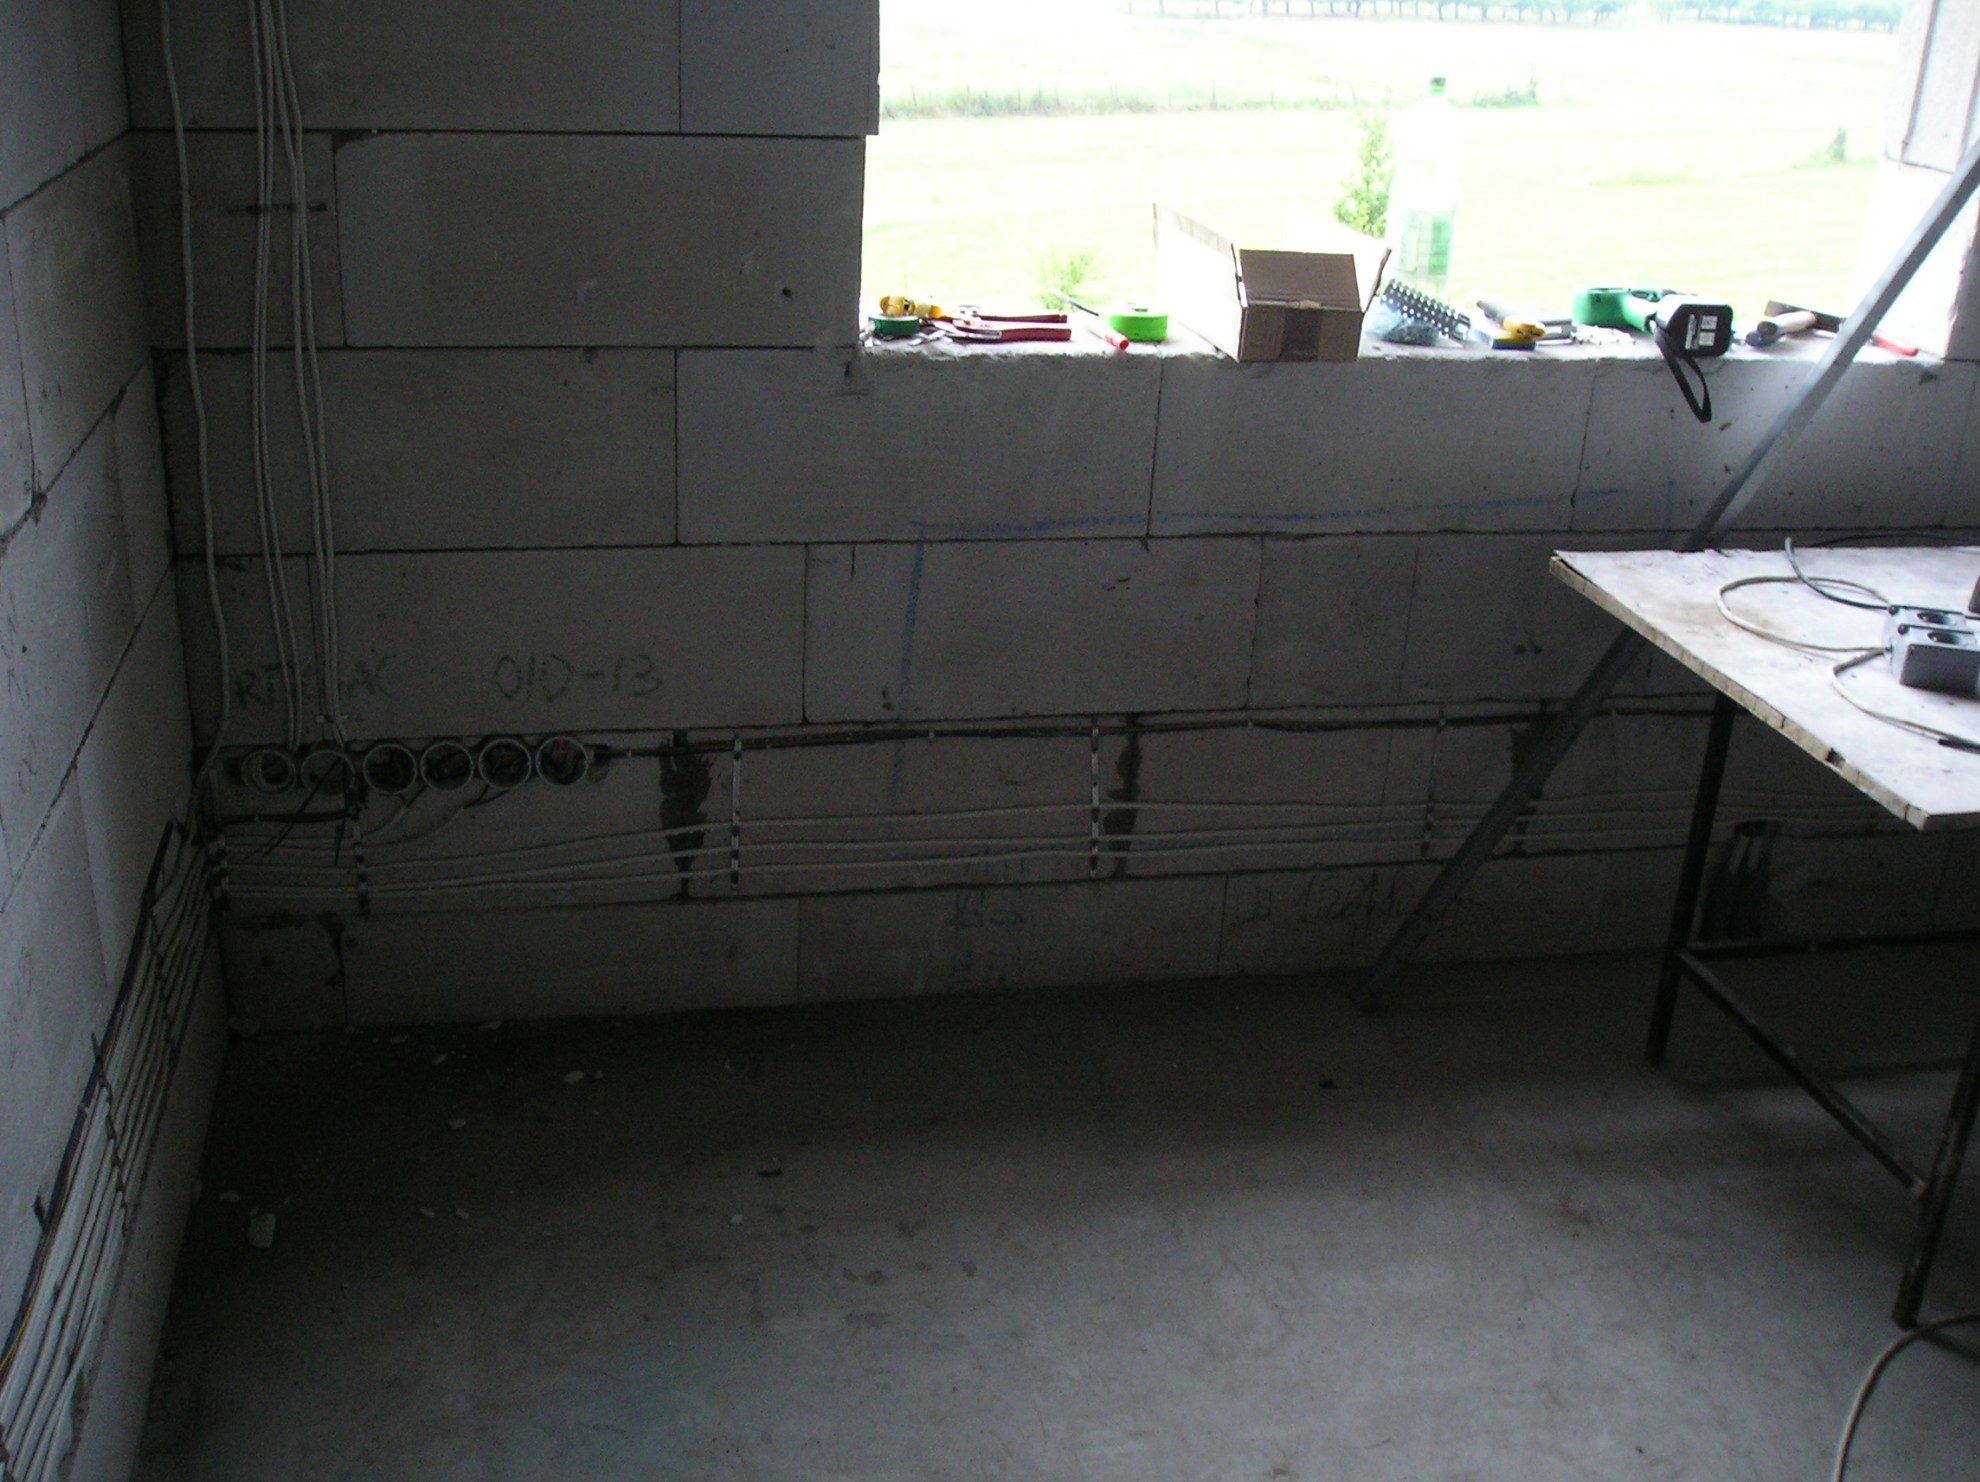
To make life easier and not slosh furrows under wires : a second , middle and penultimate block wall has been truncated ( at the stage of construction of walls ) of 2 cm to fit all cables for home automation . This was possible because I decided to installation of the system before the construction of walls and thereby distributing the wires seemed to me the most convenient .
I will only add , I’m a computer scientist , DO NOT deal with electrics , services, this is my first house and the first installation of this type of . This means that basically anyone can do the installation yourself .
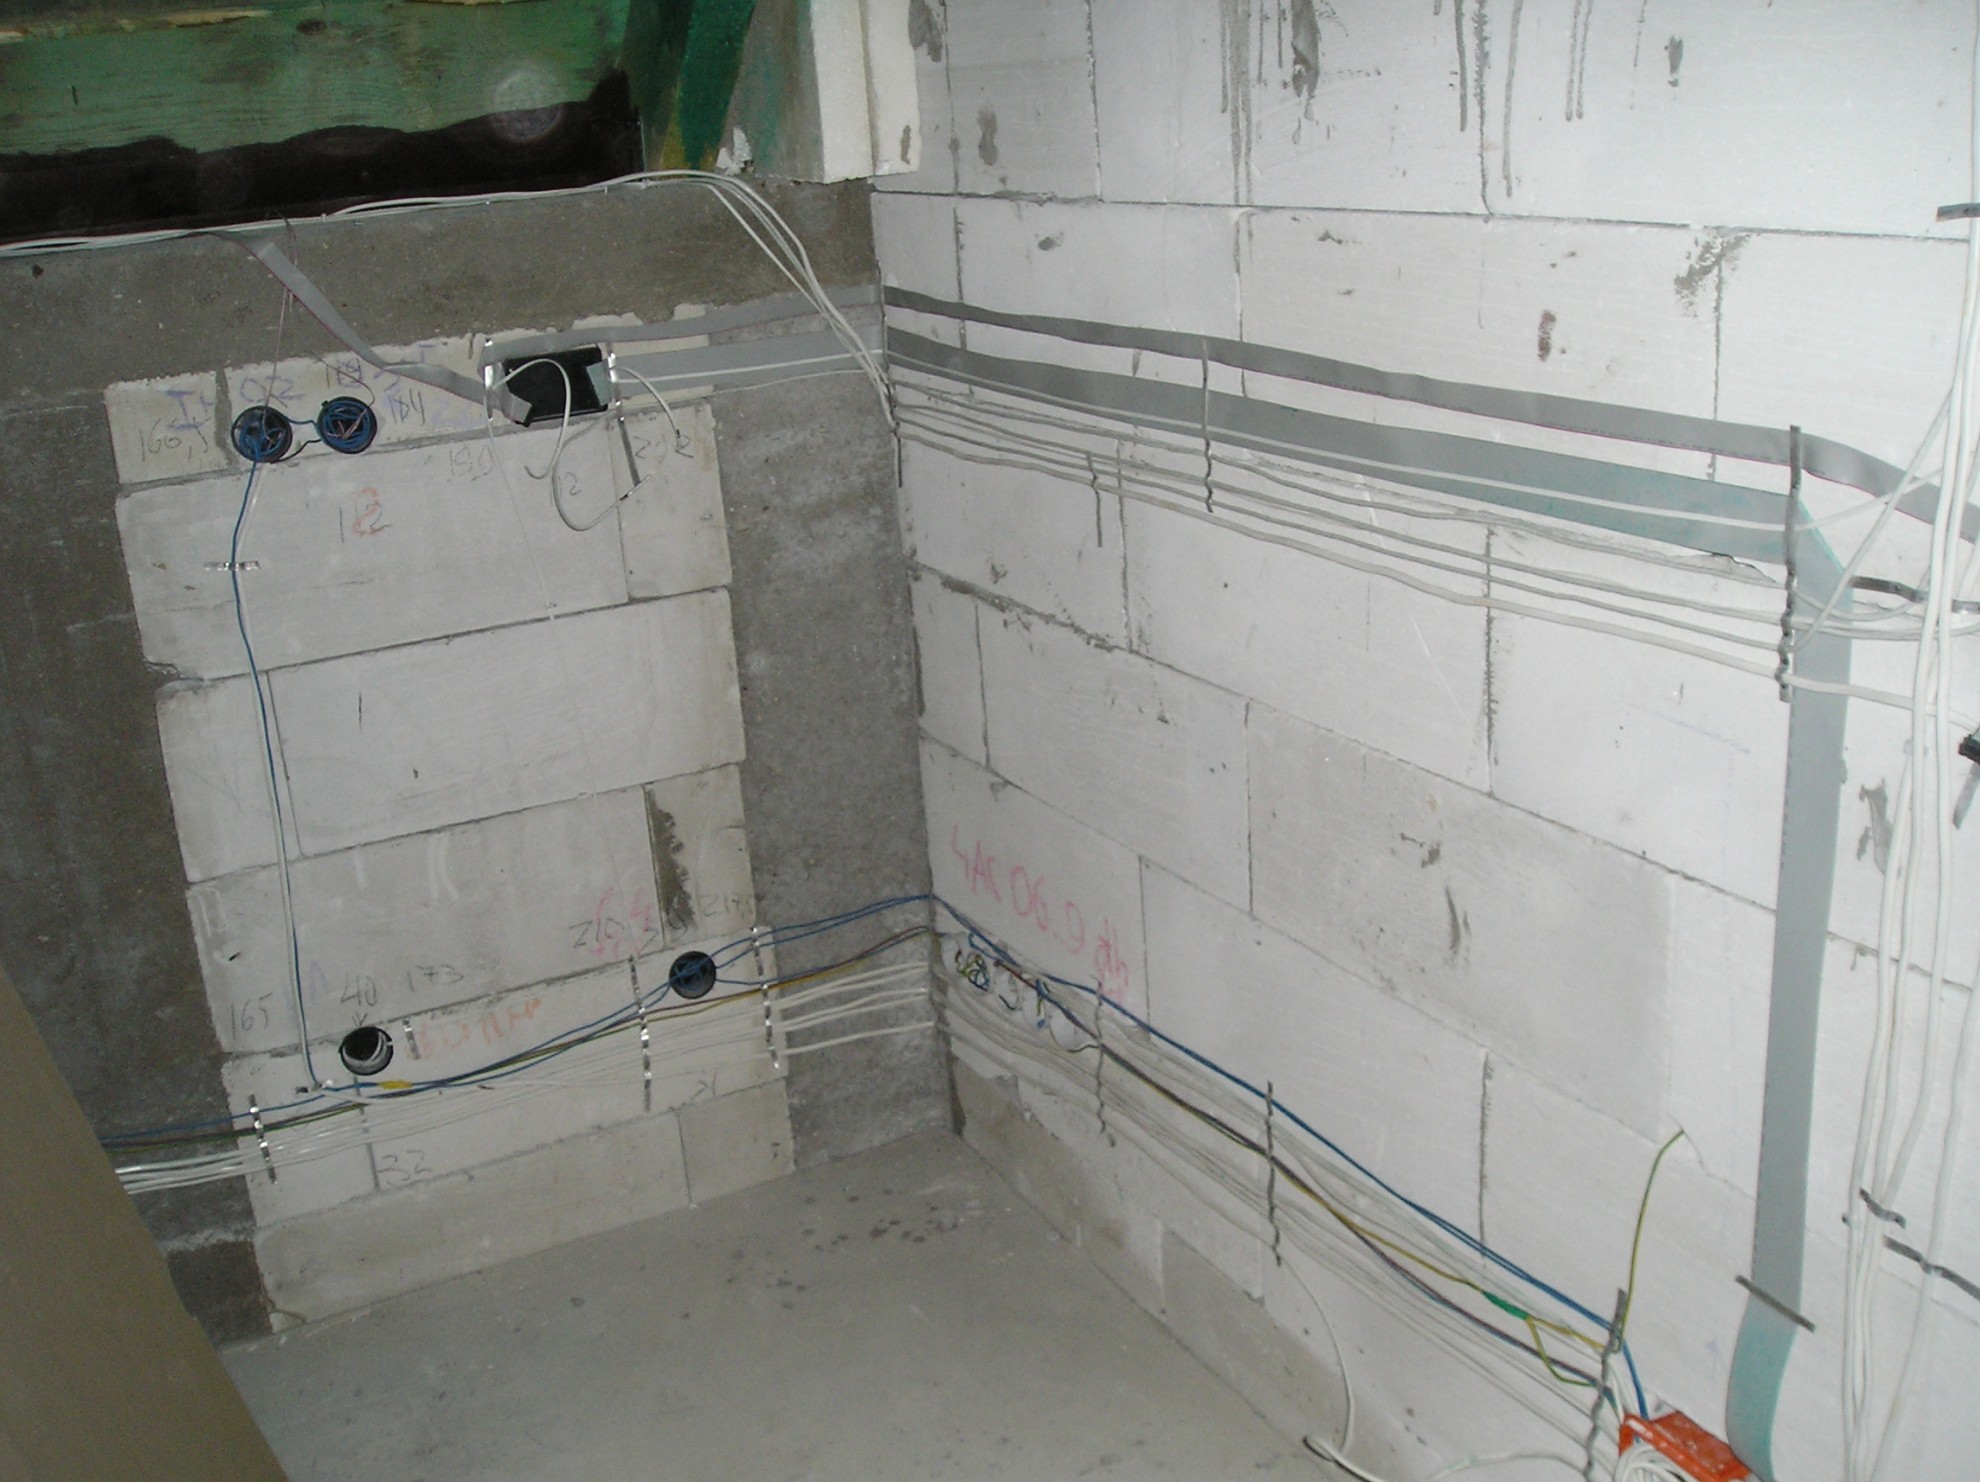
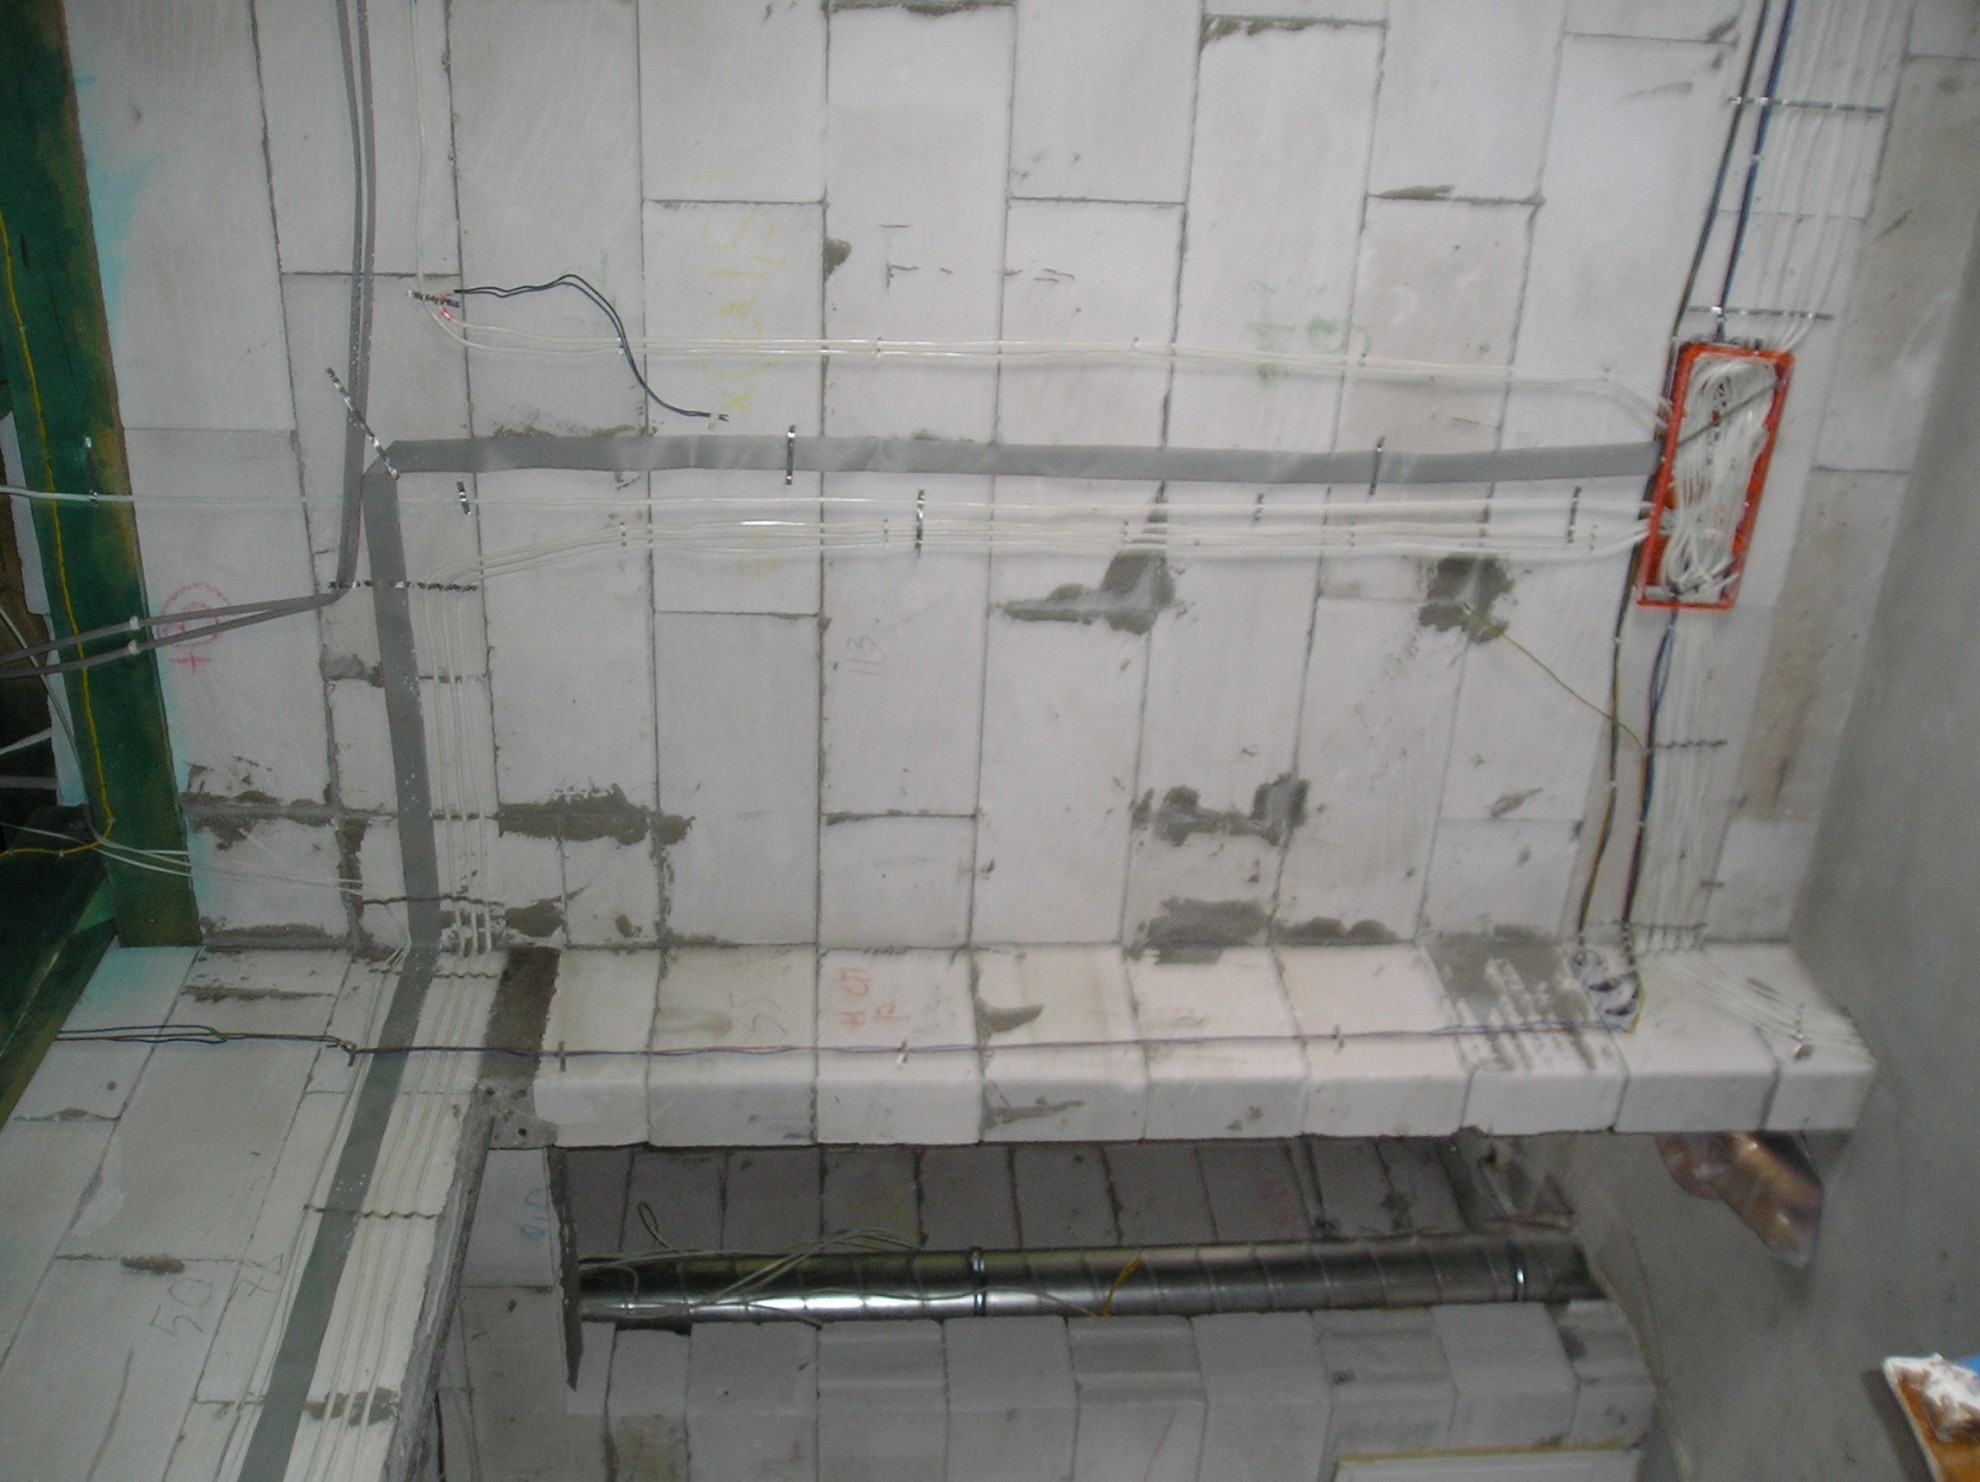
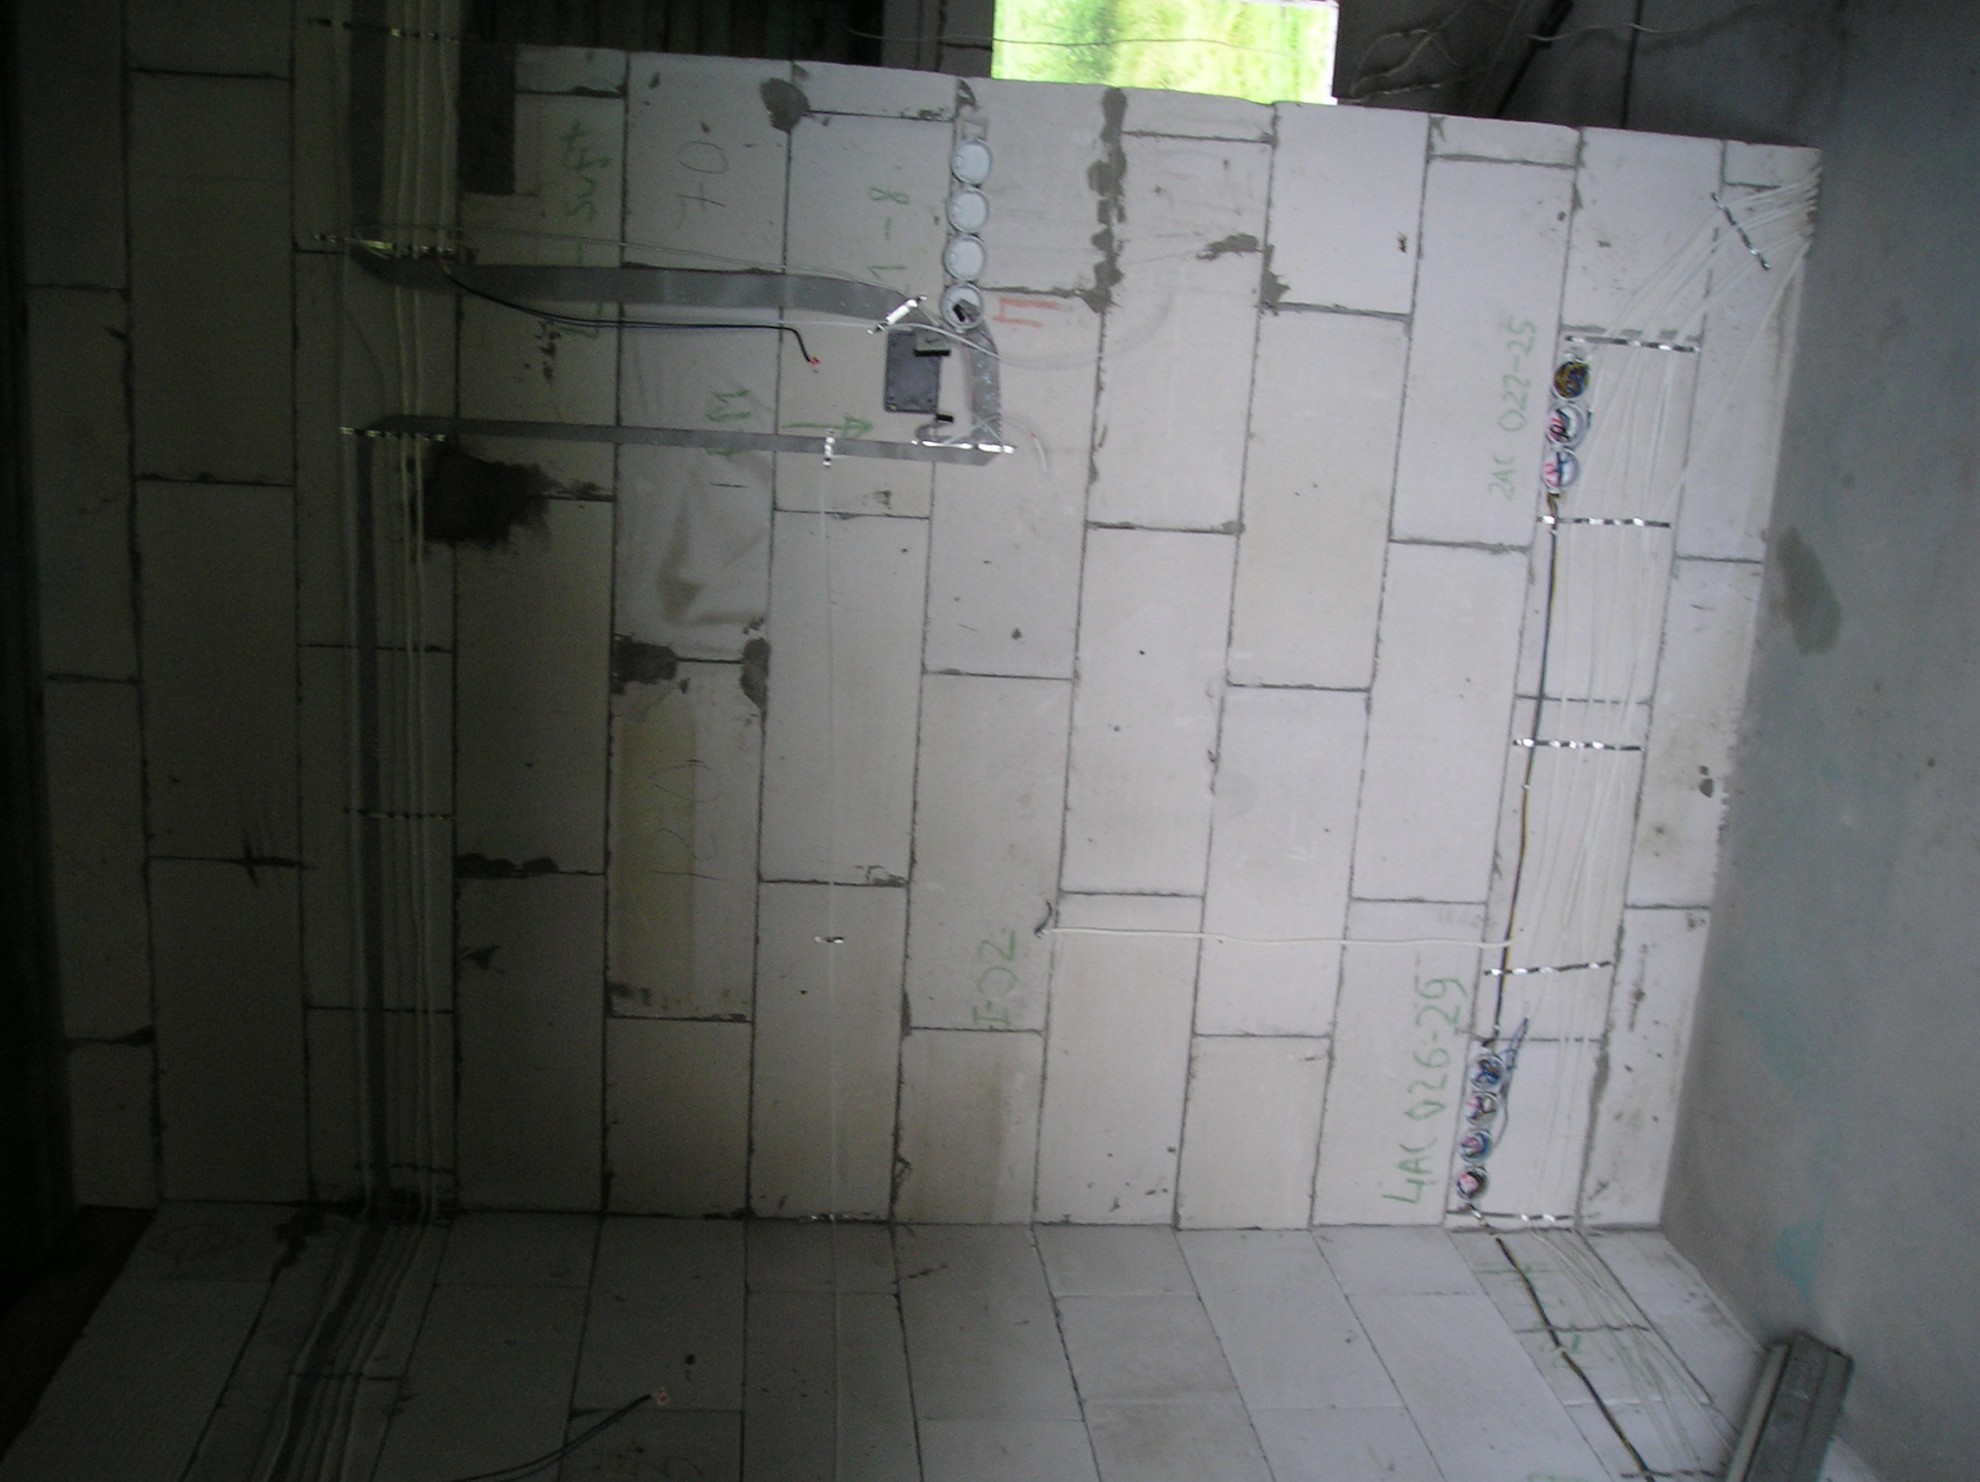
Distribution RoomManager Relay Module in one of the rooms. RM rectangular black box, Orange Relay Module . RoomManager from the top will be covered tinted fast to allow control of the infrared .
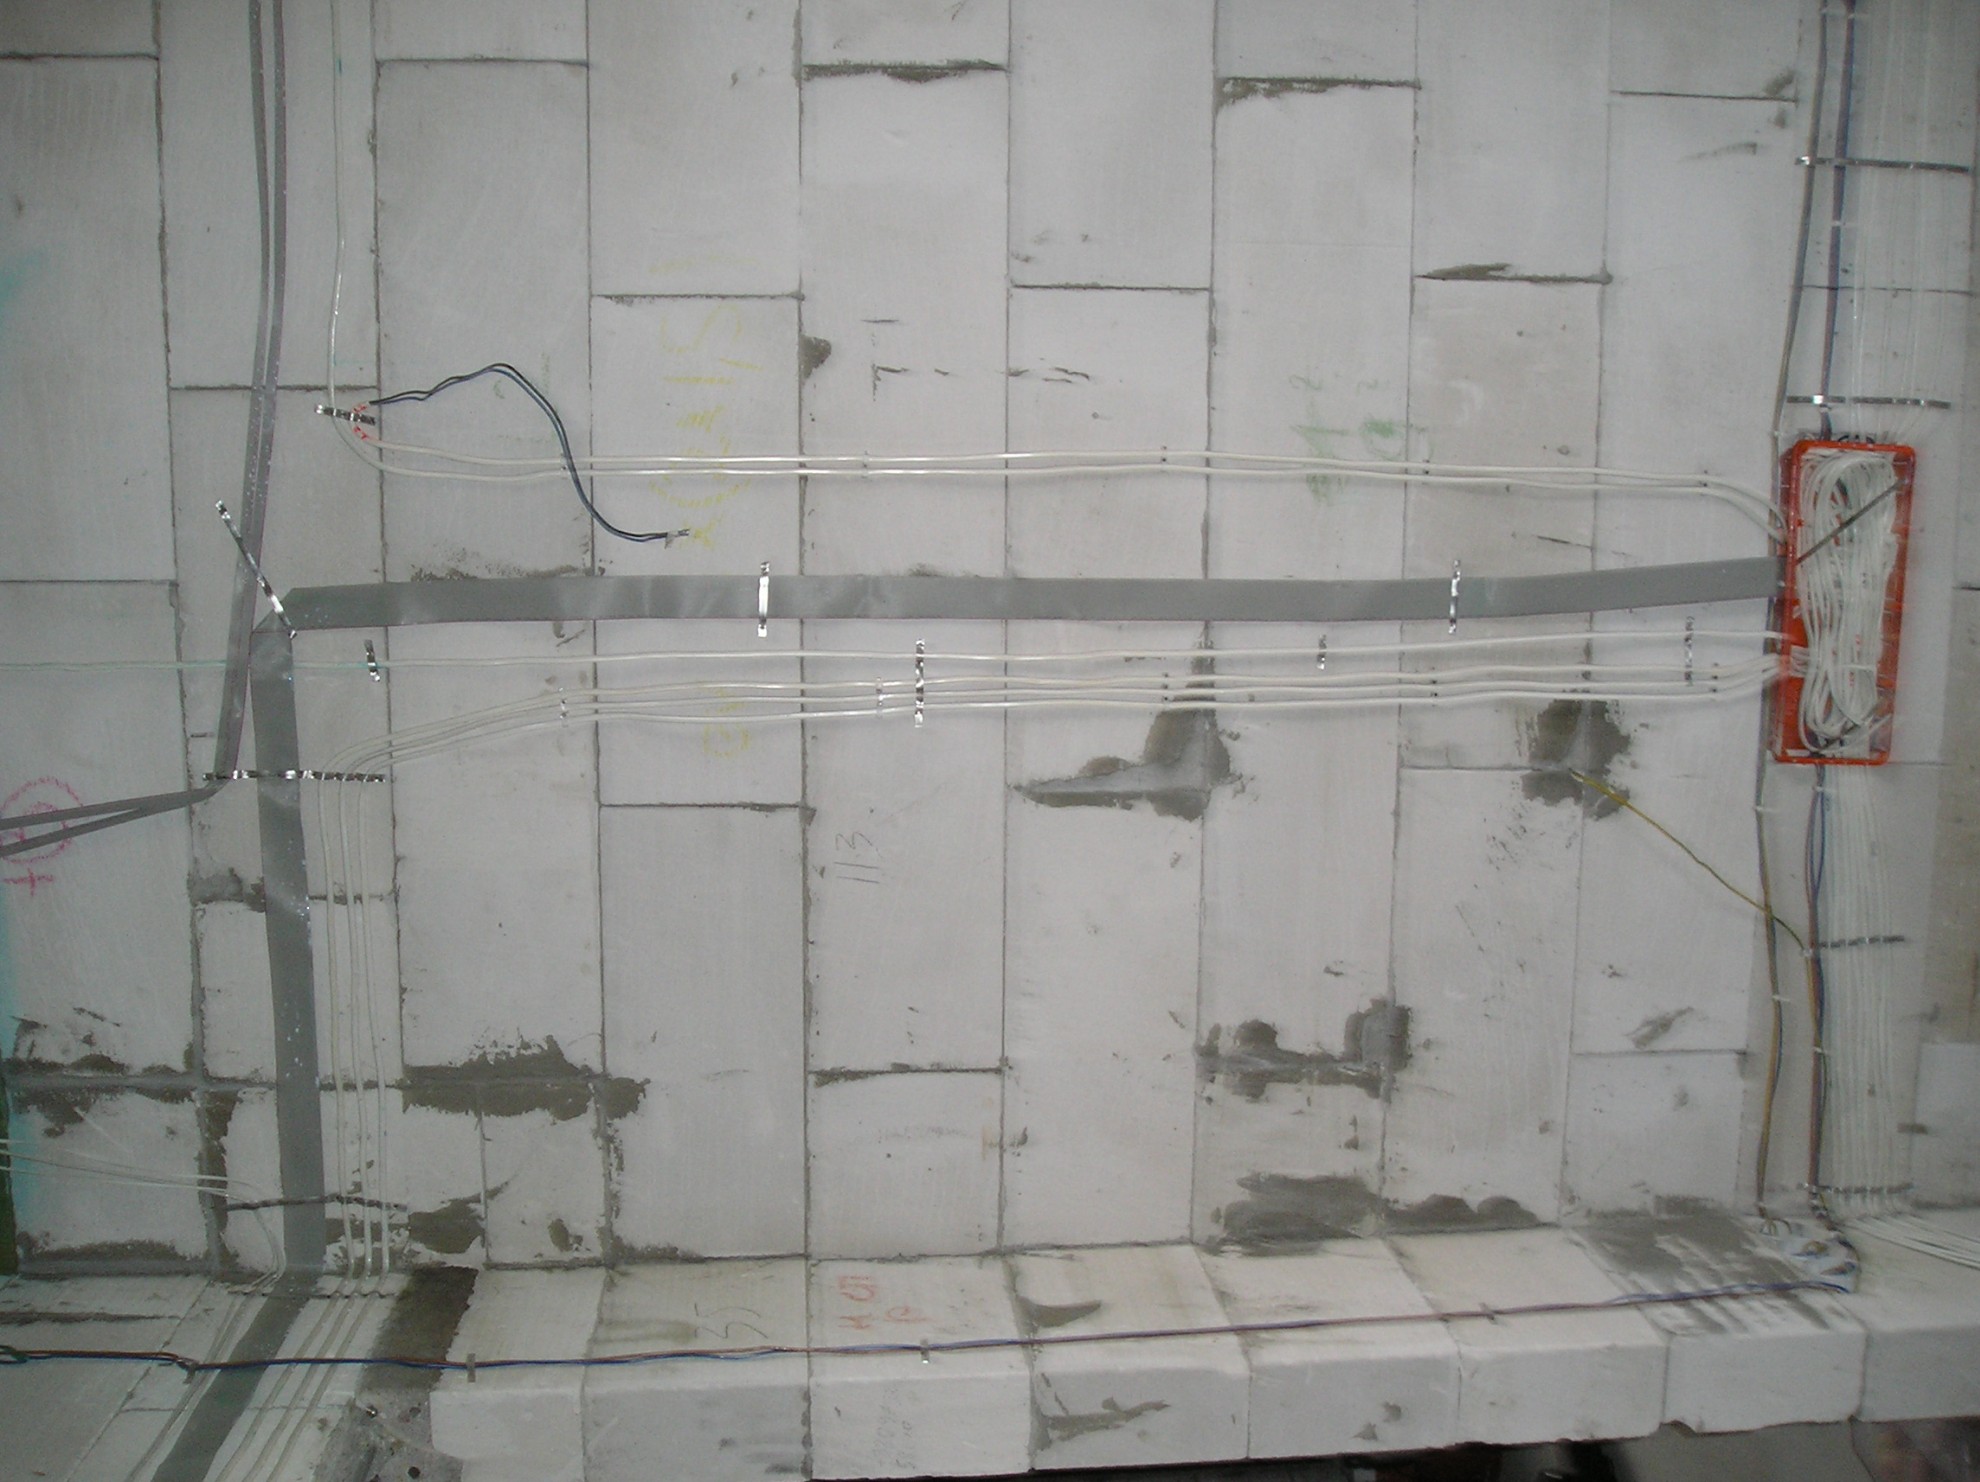
The use of the tape flat to dramatically reduce installation and does not require forging furrows .
Tape 40 pin connects RM relay module .
Tape 16 pin is distributed in series between the RM and all planned switches ( at around the whole room ) .
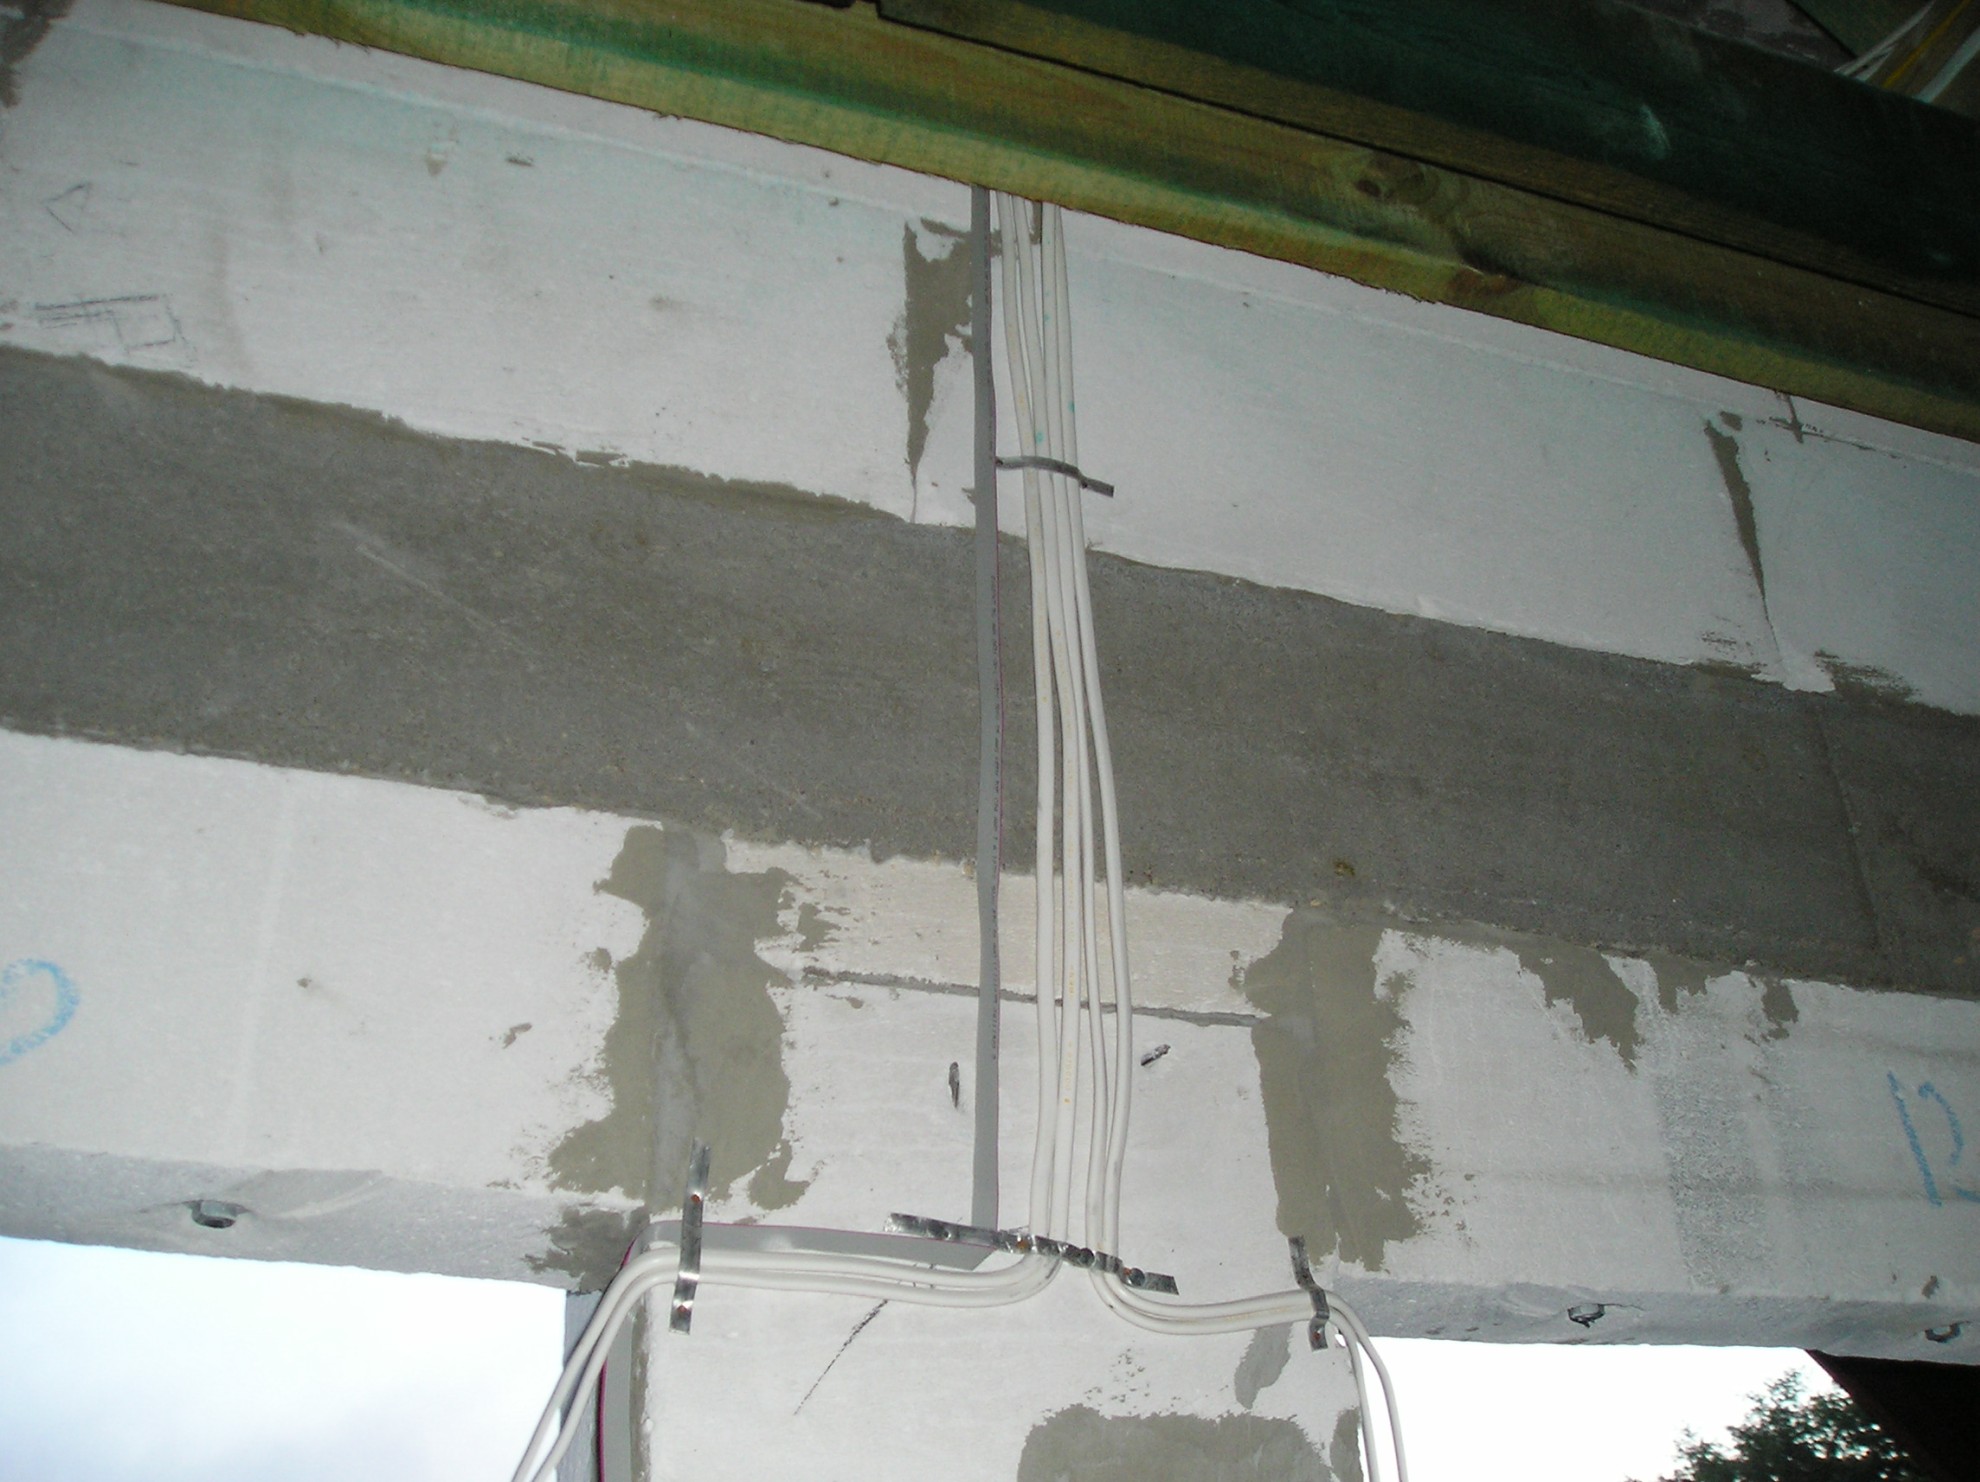
Tape 20 pin ( analog sensors – the RM goes immediately in the shielded cable to reduce measurement errors and disturbances . These wires are run far away from the 230 and other interfering .
 All the available outputs RoomManager (24 ) distributed around the room at various heights . This enables the use of existing wires in the future beneath the gypsum – cardboard instead of cables from the start of the relay module . I used the distance of about 20cm between the 230V and the low-voltage wires and tried not to cross them in order not to risk the future drill through 2 wires at the same time . Data Bus Cables ( UTP-8 ) and the supply I brought to the unfinished attic for easy access and service .
As I applied the usual bell and shutters switches , eHouse as the system goes to a standard electrical system and take over the entire logic controllers ( RoomManager ) .
The ends of the 230V wire by a wide margin (about.70cm ) were wrapped in a box Module relays for finishing home. Each wire on both sides has been described to allow easy finding the right wires. Relay modules and drivers will be installed only after the last painting walls . Before repairing plaster and drywall – carton , I wrote in chalk on the wall distance and height to easily locate termination and routes cables . After that you should take as many pictures as you only give different perspectives and various magnification .
Control cables blinds with cable ( 10 pin flat tape to connect the reed verification closing the windows and blinds ) are carried out in one central place to control blinds and security system .
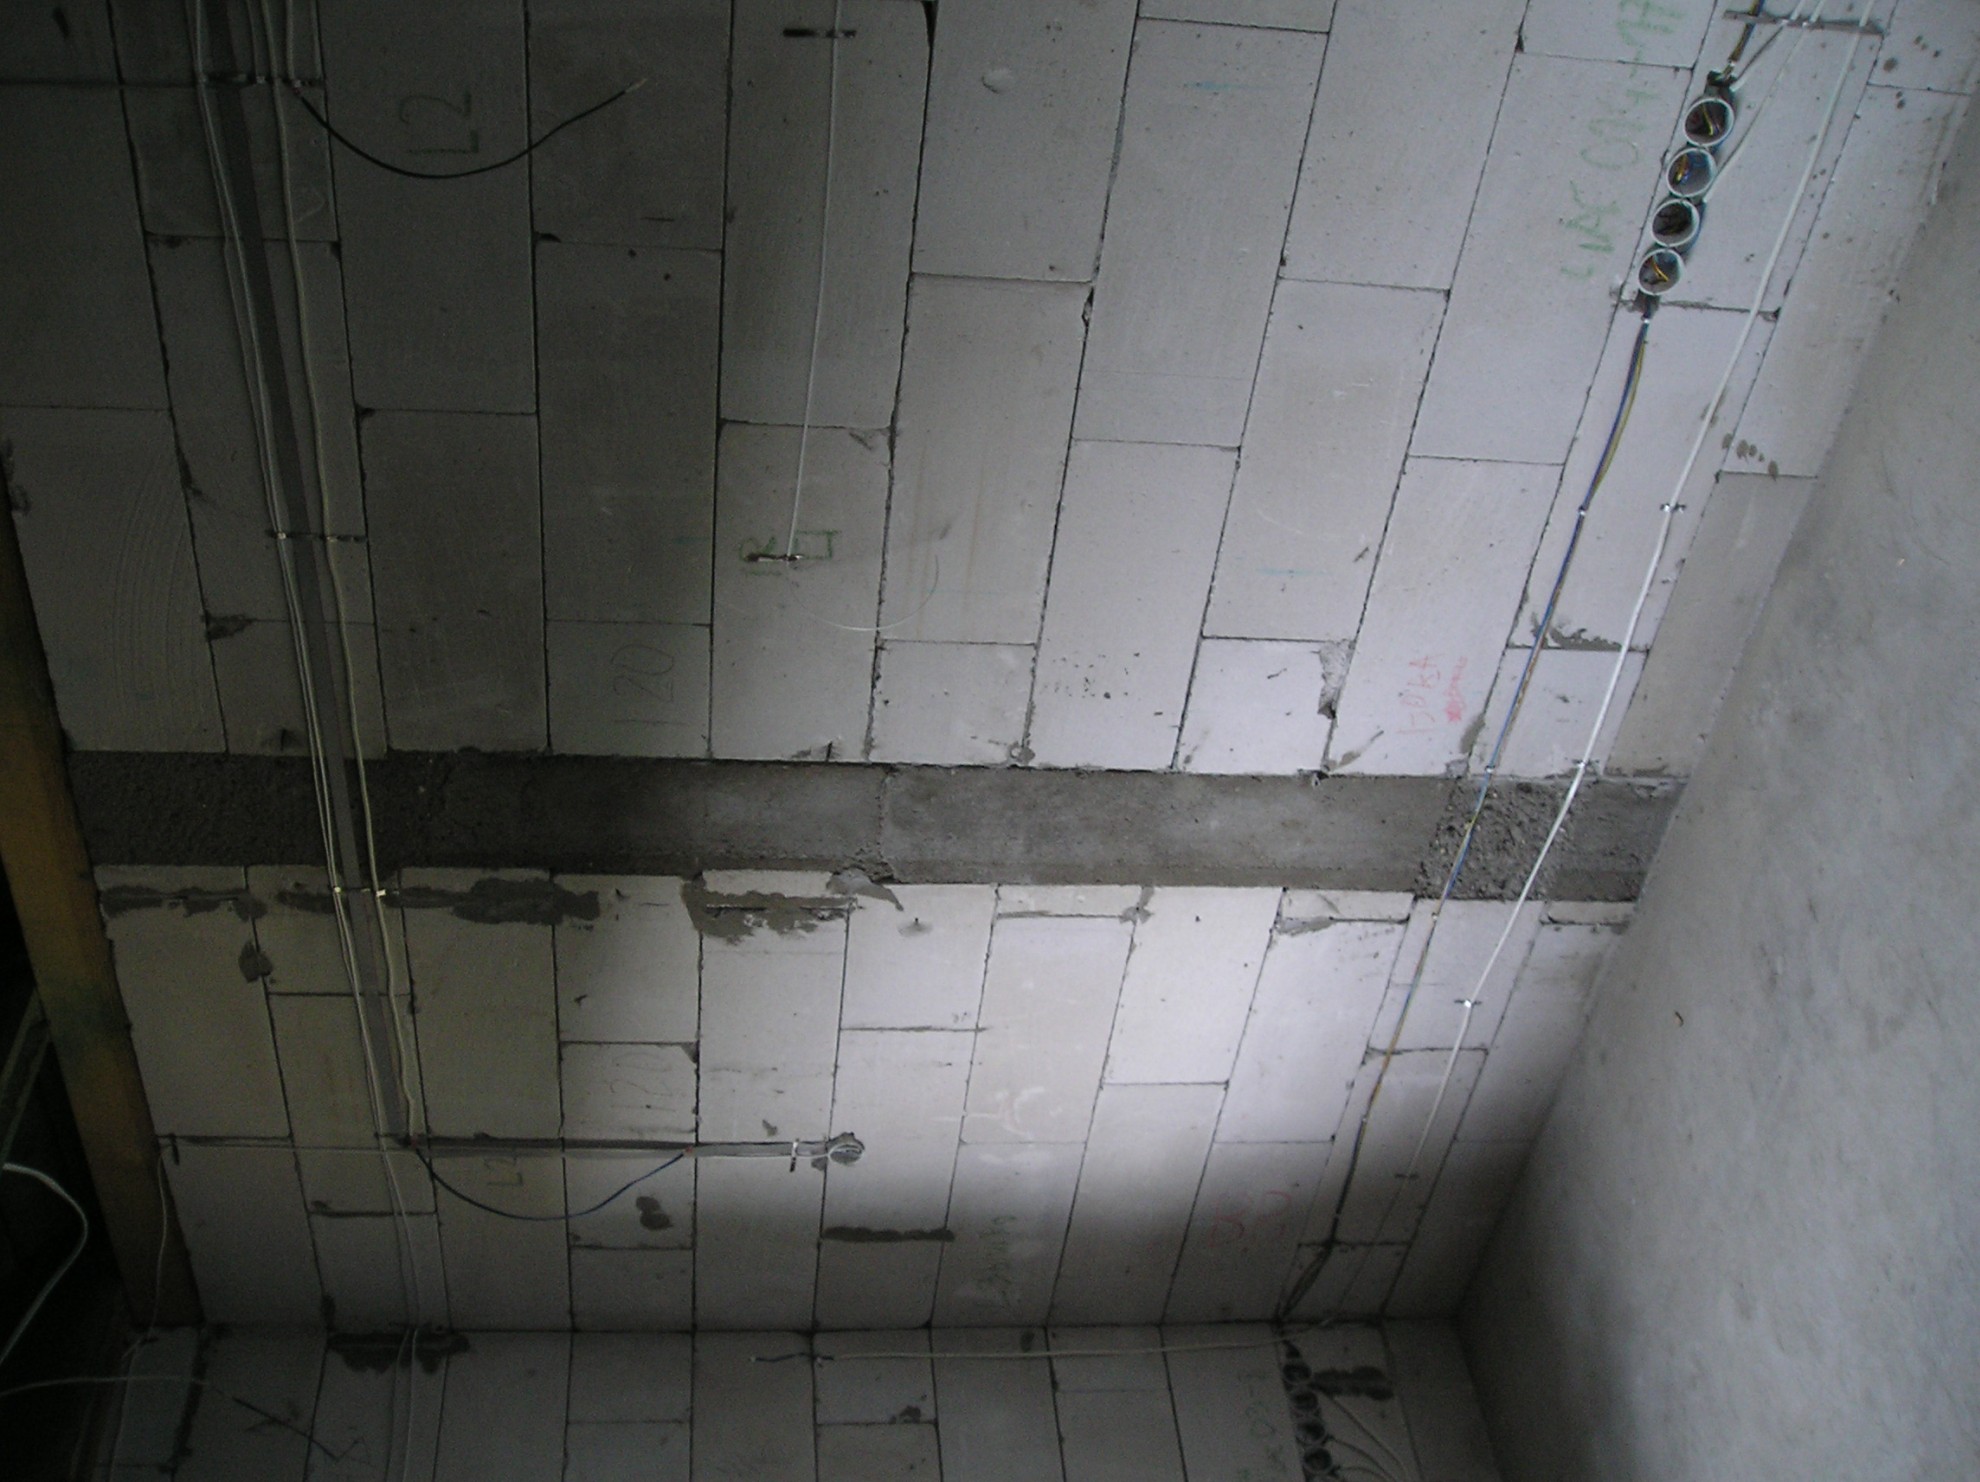
 Photos wiring other rooms


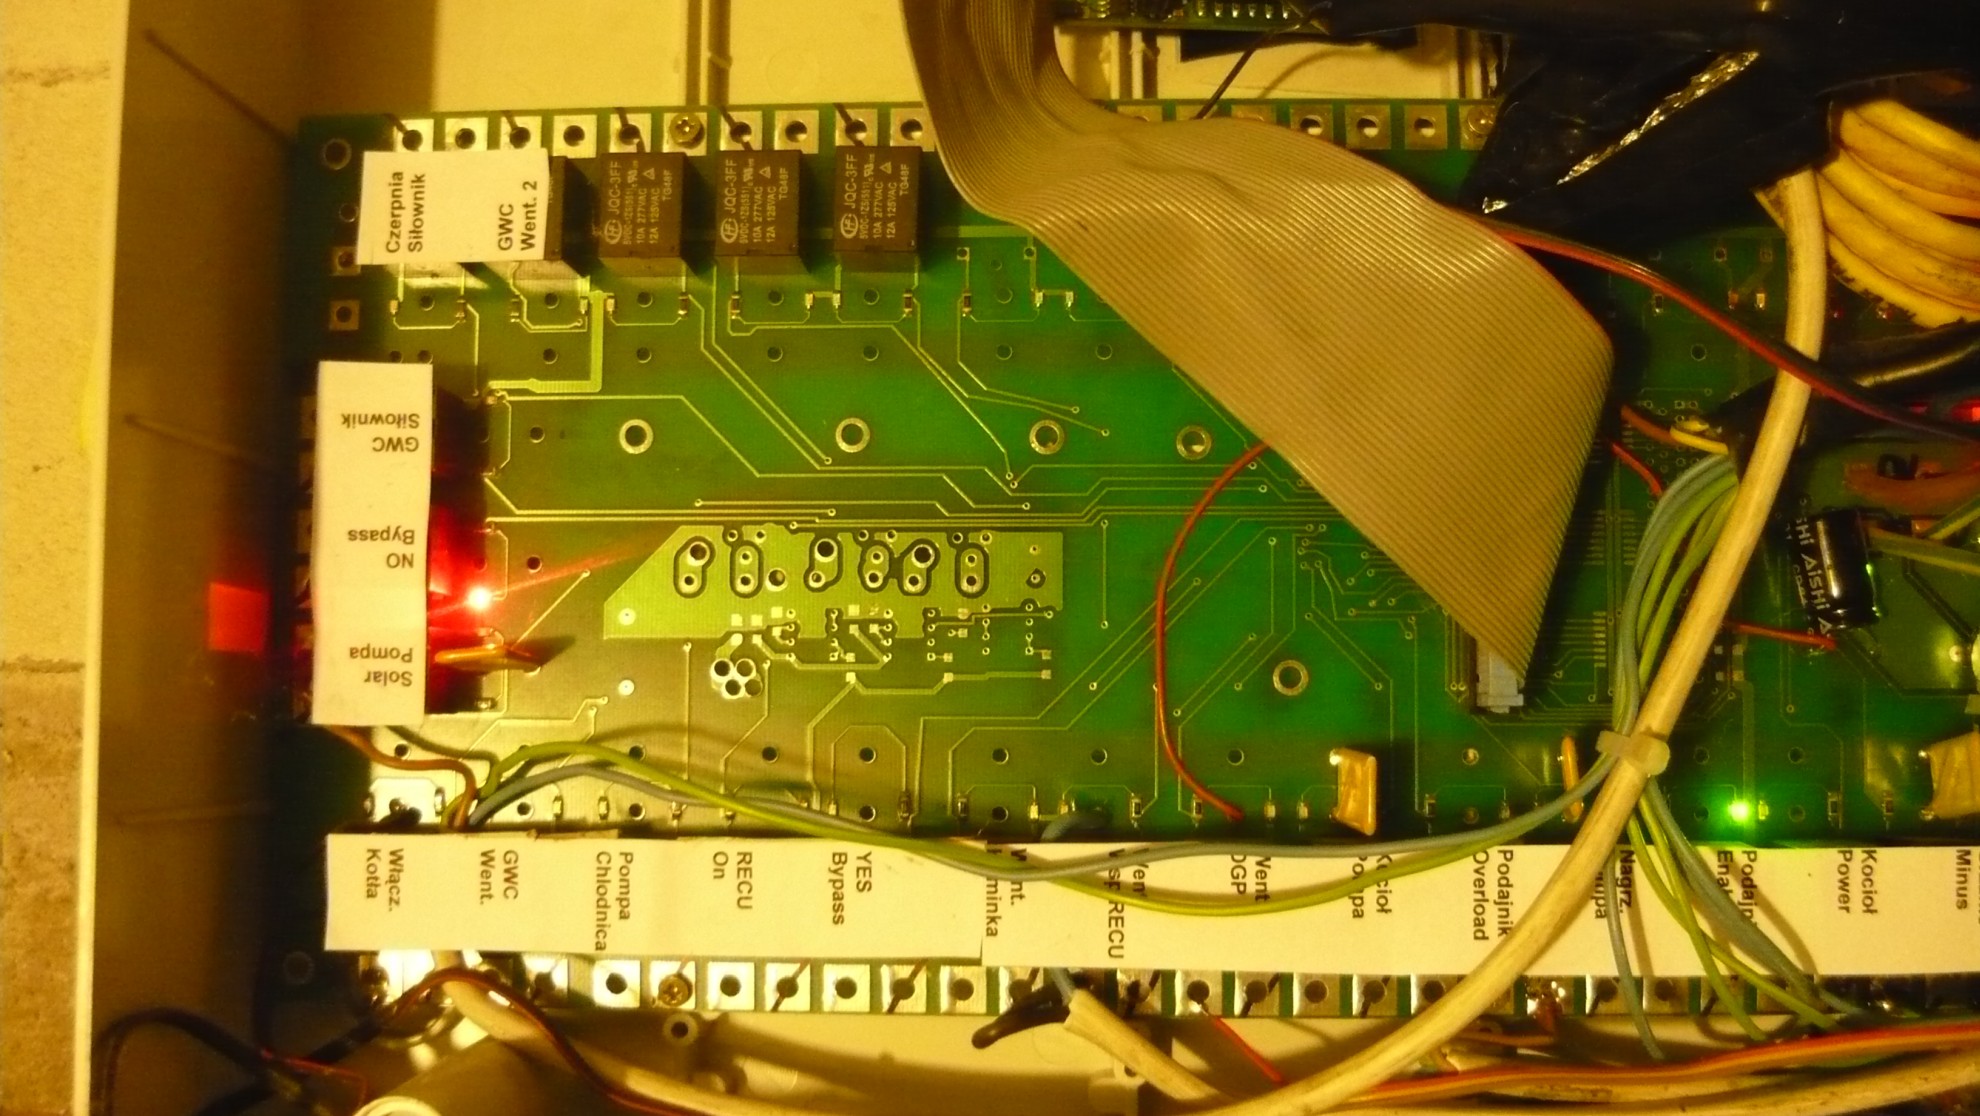
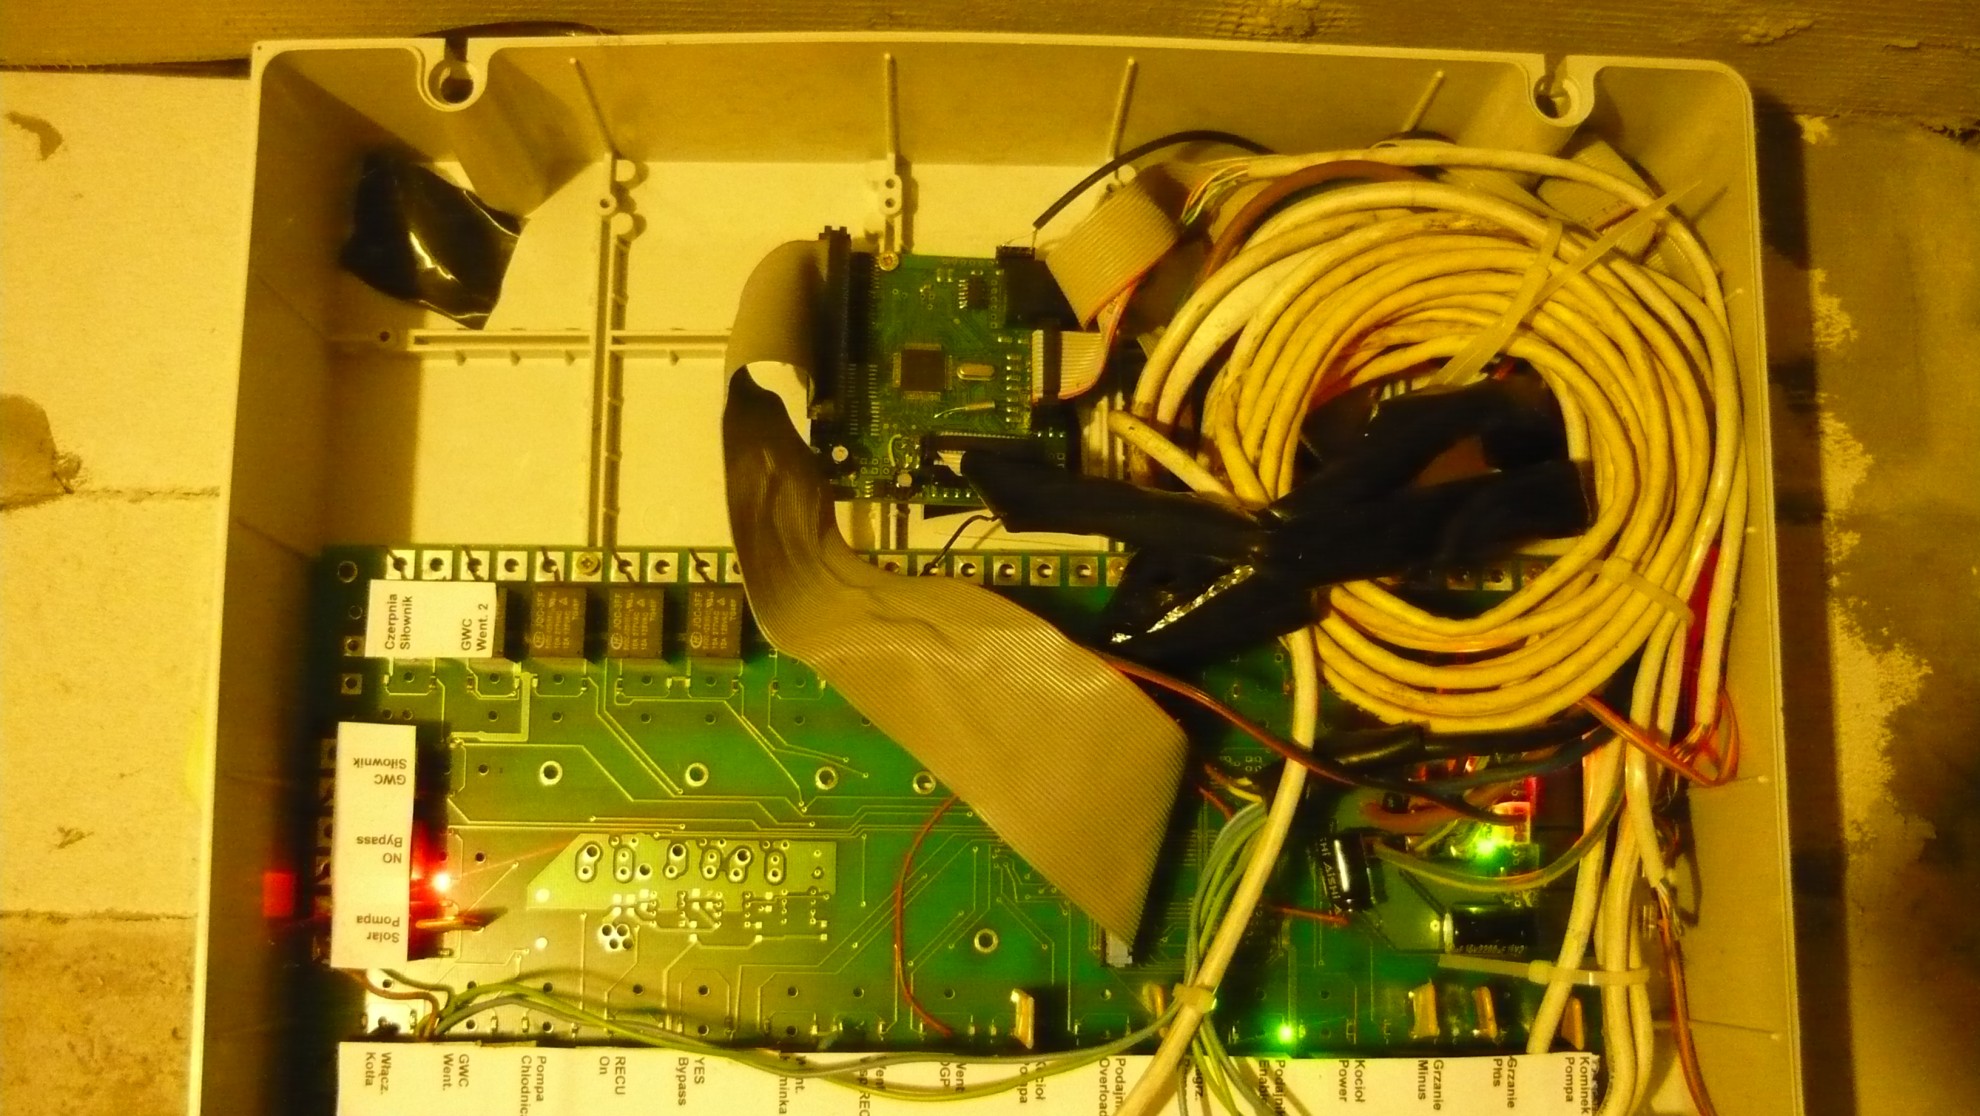
Installation HeatManager Central Heating Controller , boiler room , recuperator , ventilation , Fireplace with a water jacket and DGP , solar collector , tray CO , CWU , Exchangers in the basement .
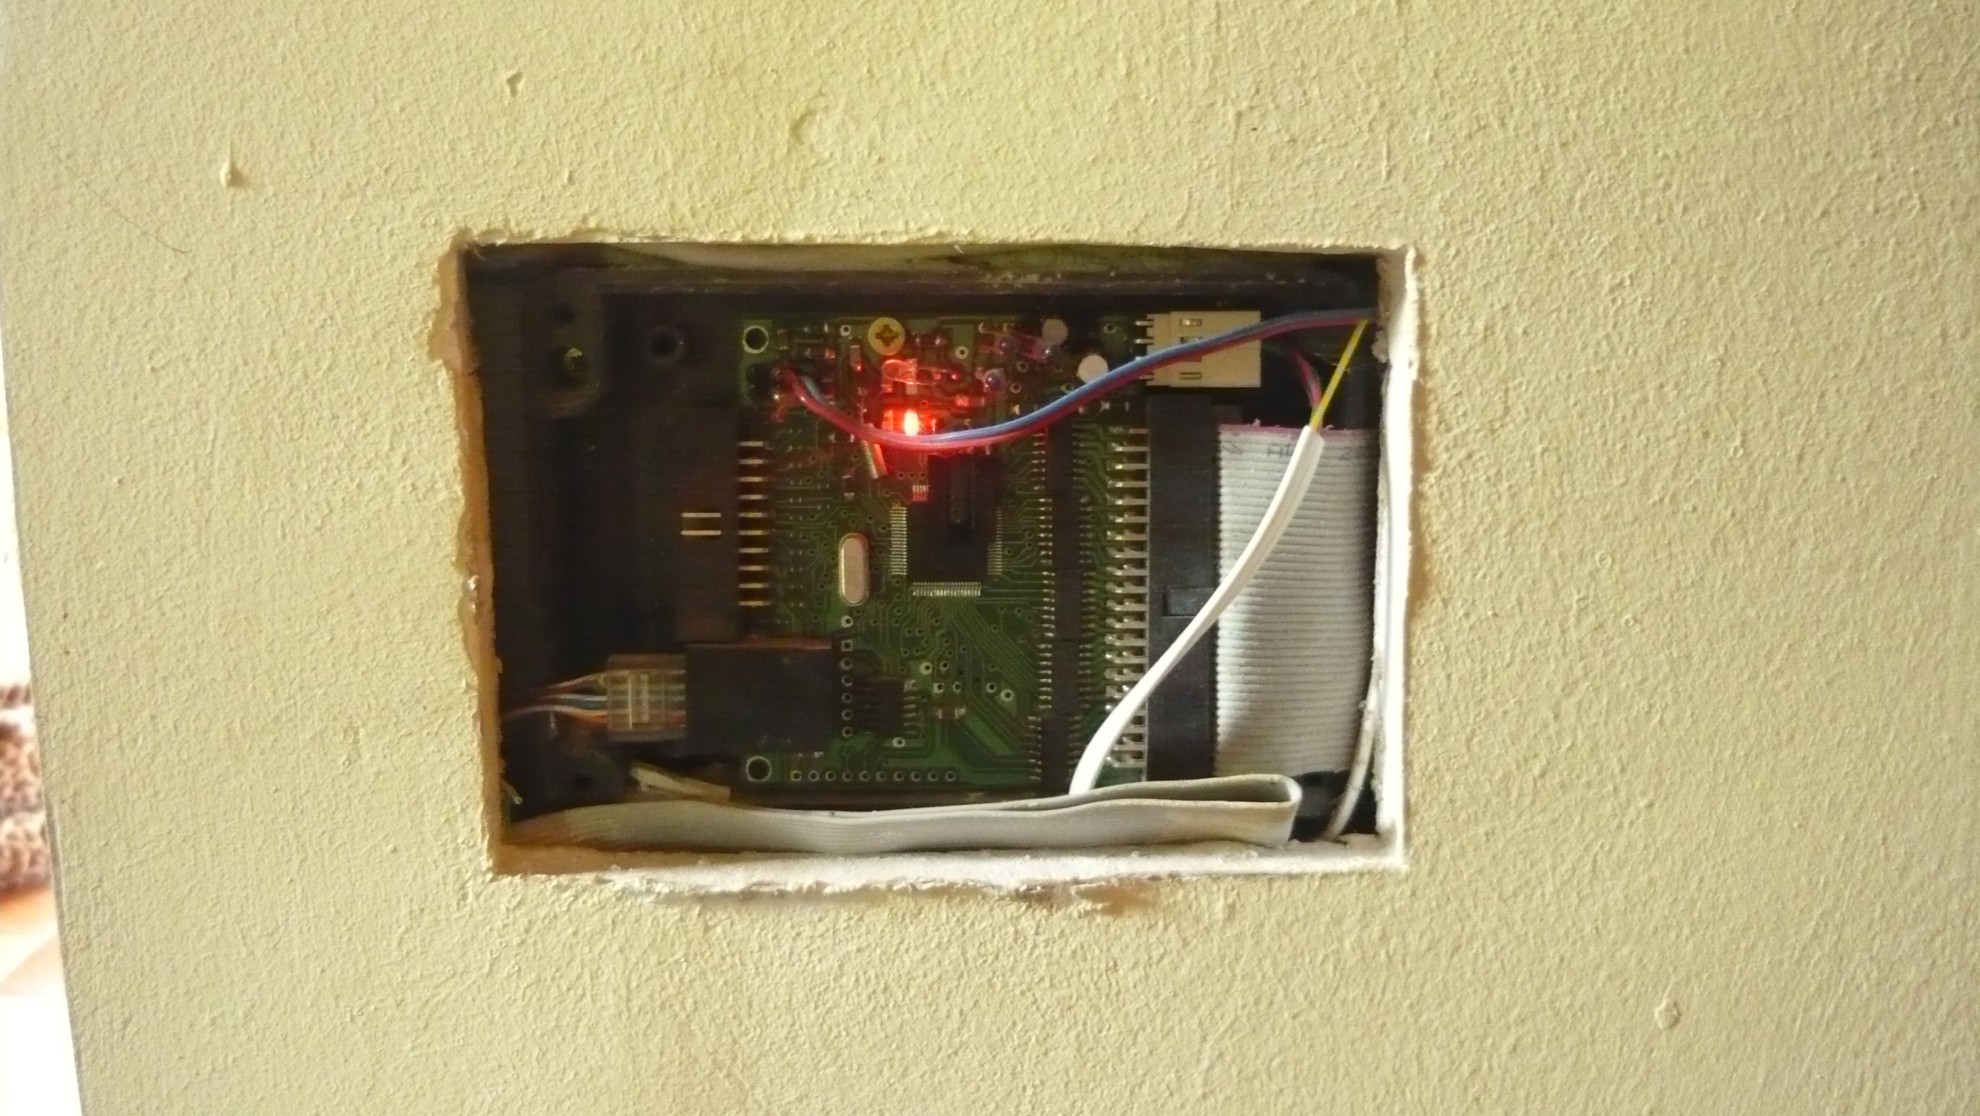
RoomManager prior to disguise the darkening fast infrared transmissive
More information system manufacturer for self-assembly :
Smart Home eHouse Documentation
Smart Home Design – Do it yourself
Smart Home Installation – Do It yourself